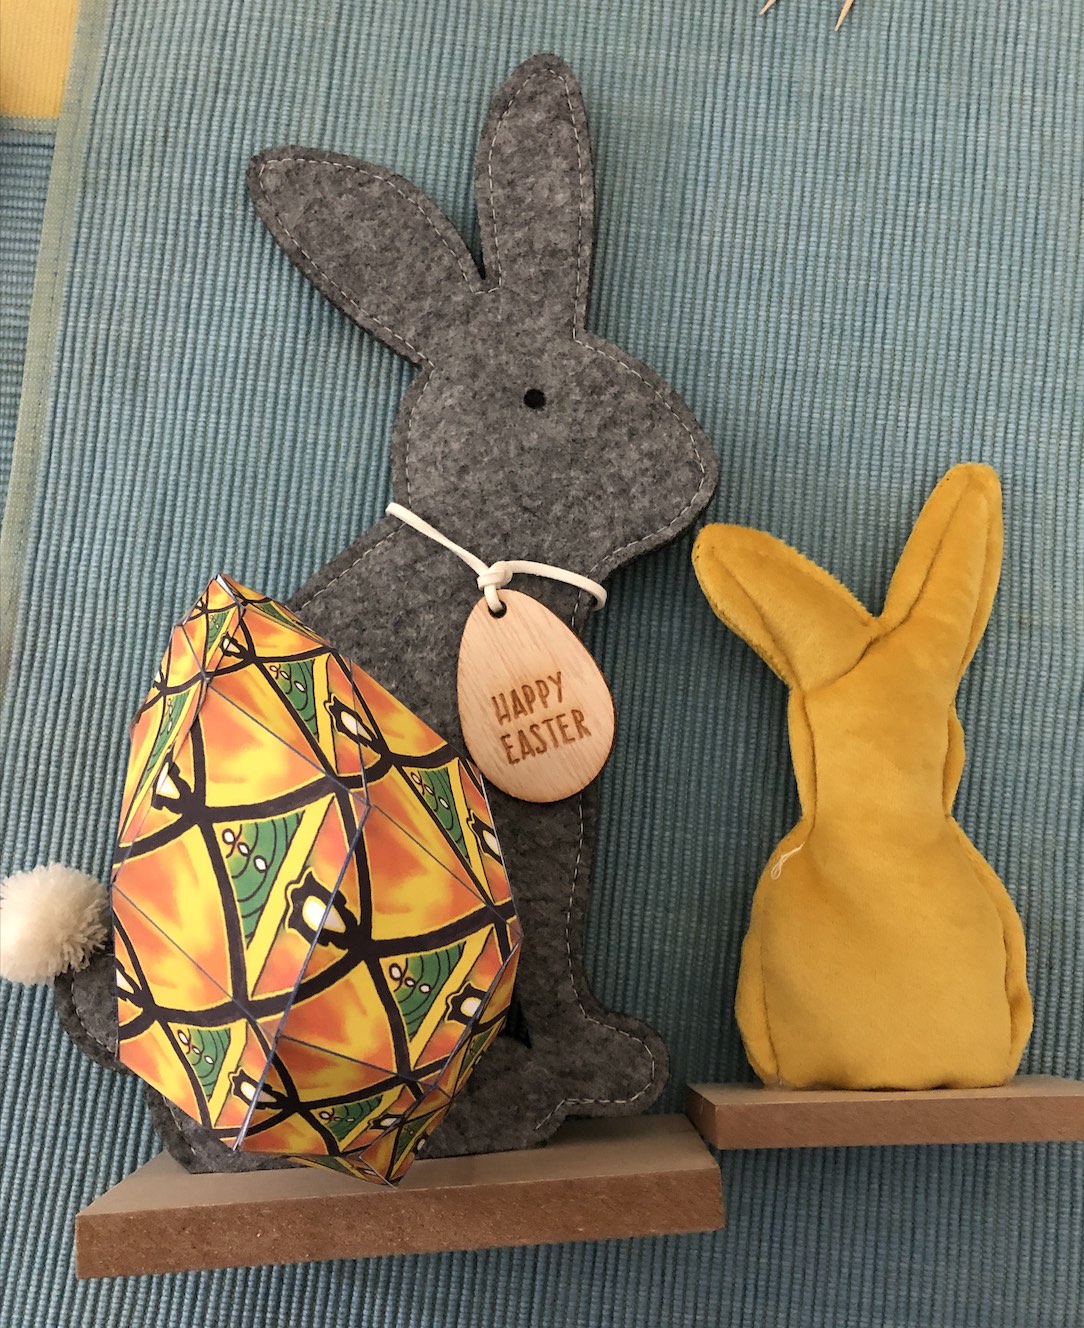
Making Easter eggs
Easter is just around the corner. Here you can create paper cutouts for beautiful patterned Easter eggs. Simply choose a pattern below, click on paper cutout, then generate a PDF and print it out.
You can also drag and drop your own pictures into the programme to create your own personalised Easter eggs.
If you want to design your own seamless decorations for your Easter egg, the app
iOrnament is perfect for this.
The patterns below were also created using this app.
Note that piecing the egg together is not so simple (especially towards the end). You need a little patience before you get a feel for it. Or parents with a steady hand :-)
Show us what you have made.
Post your creations on Instagram or Facebook with the hashtag #mathforkids
How to make your Easter egg
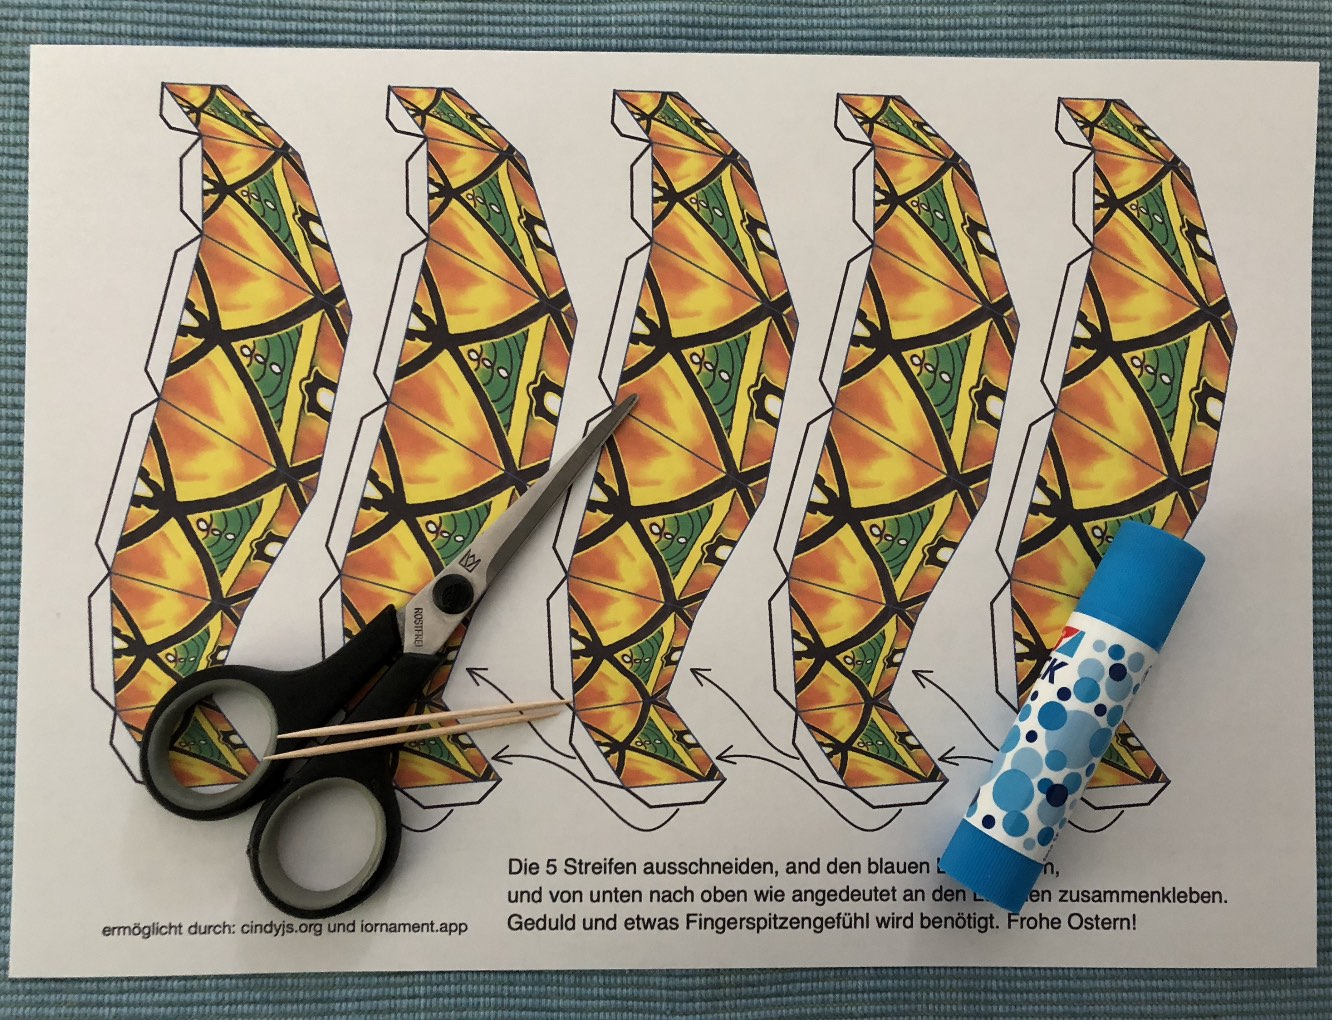
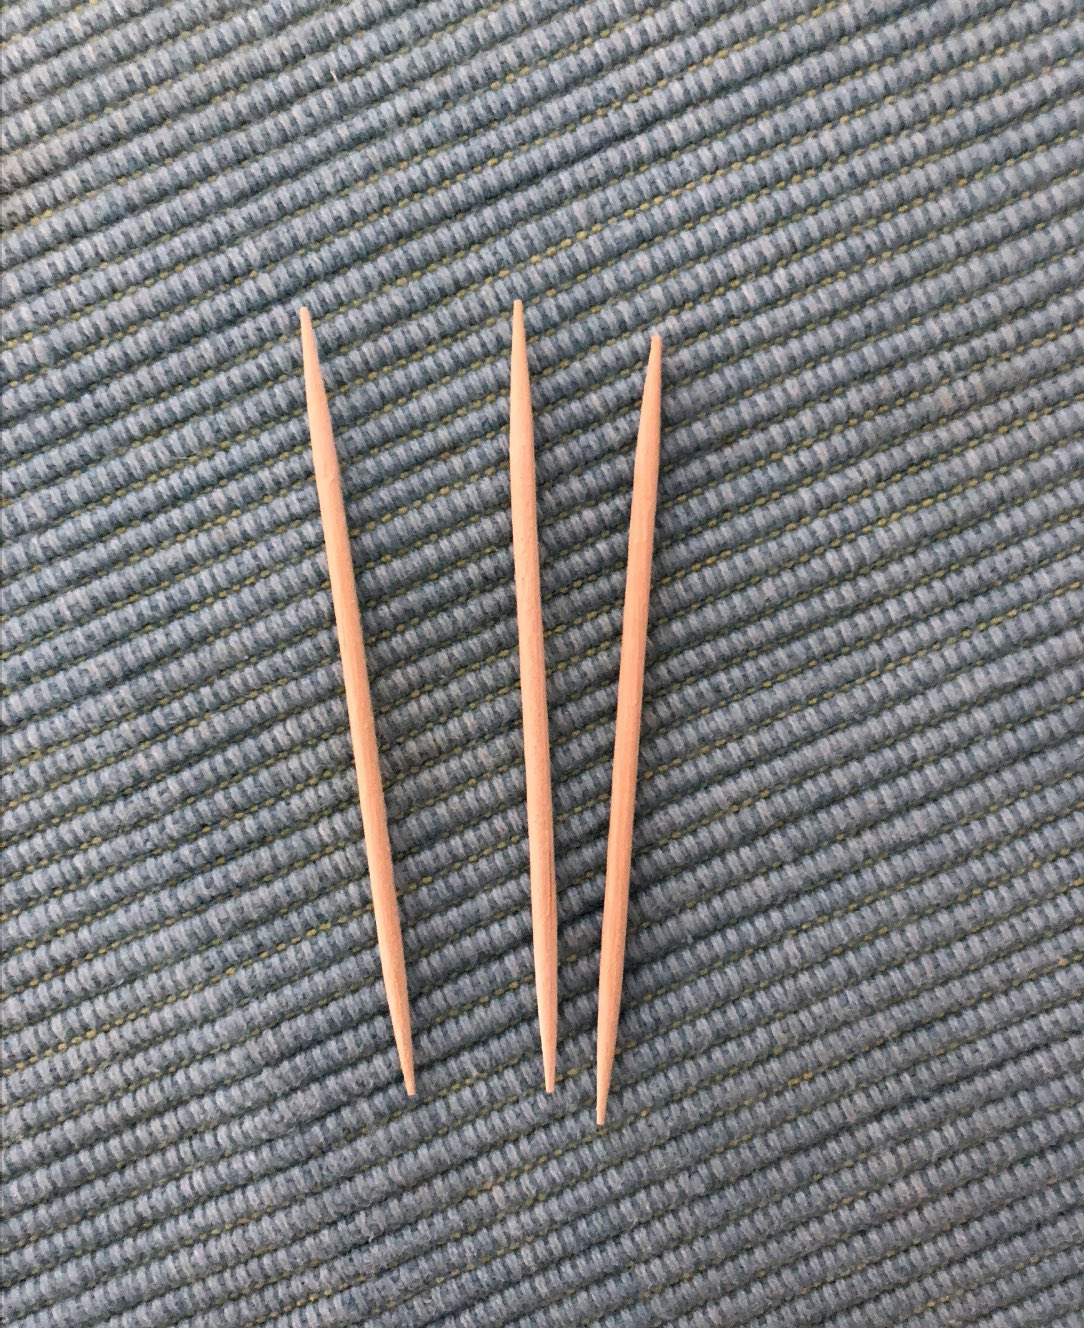
You will need the printed craft sheet, a pair of scissors, glue, and ideally a couple of toothpicks.
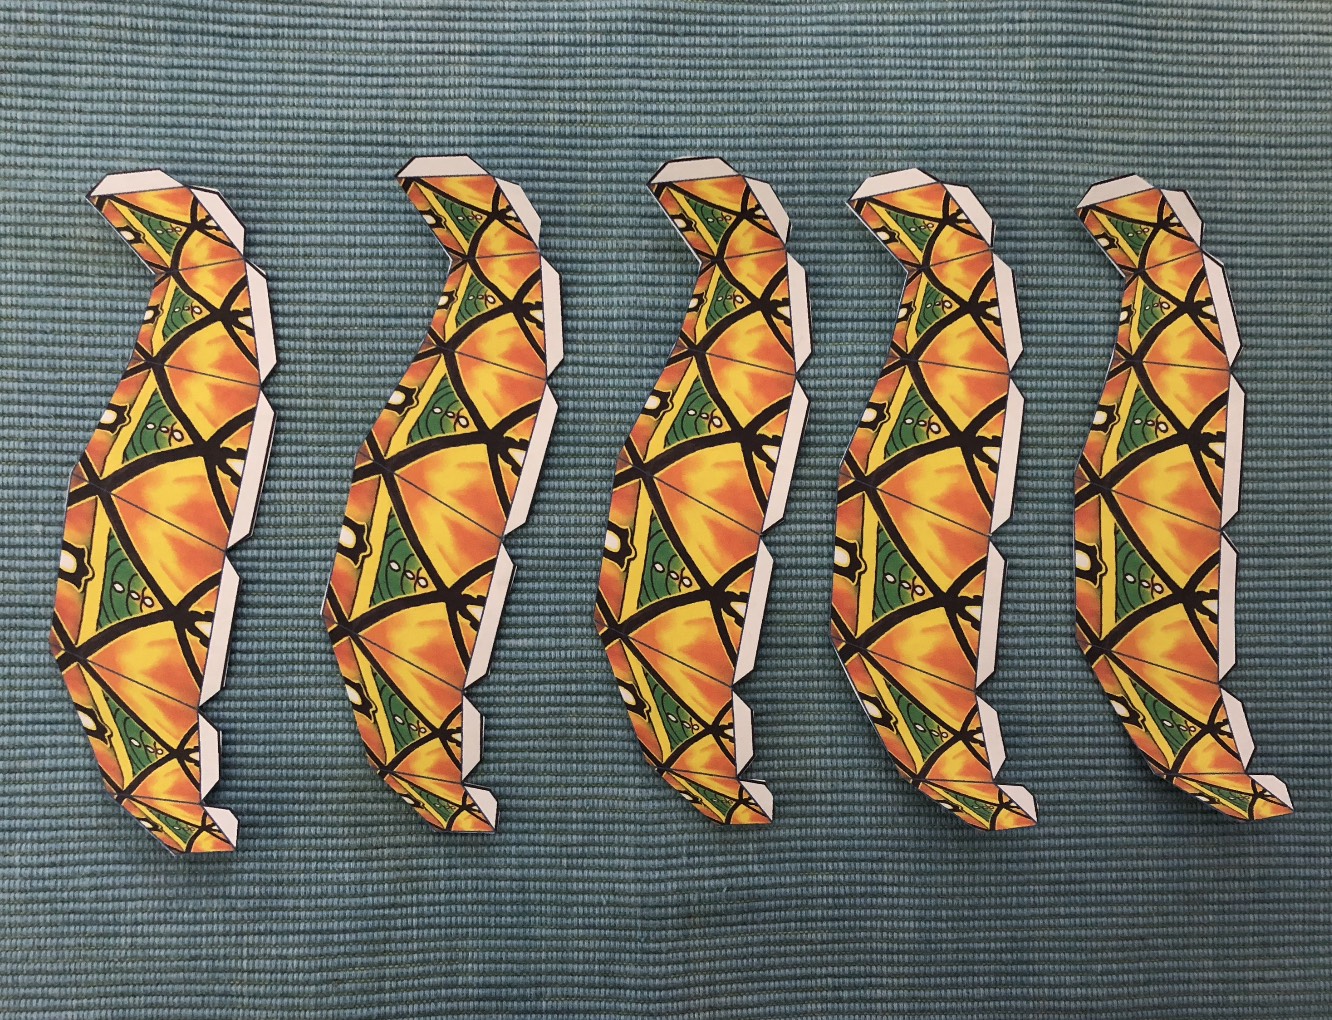
Step 1: Print the pattern, cut it out, and fold along the thin lines and flaps.
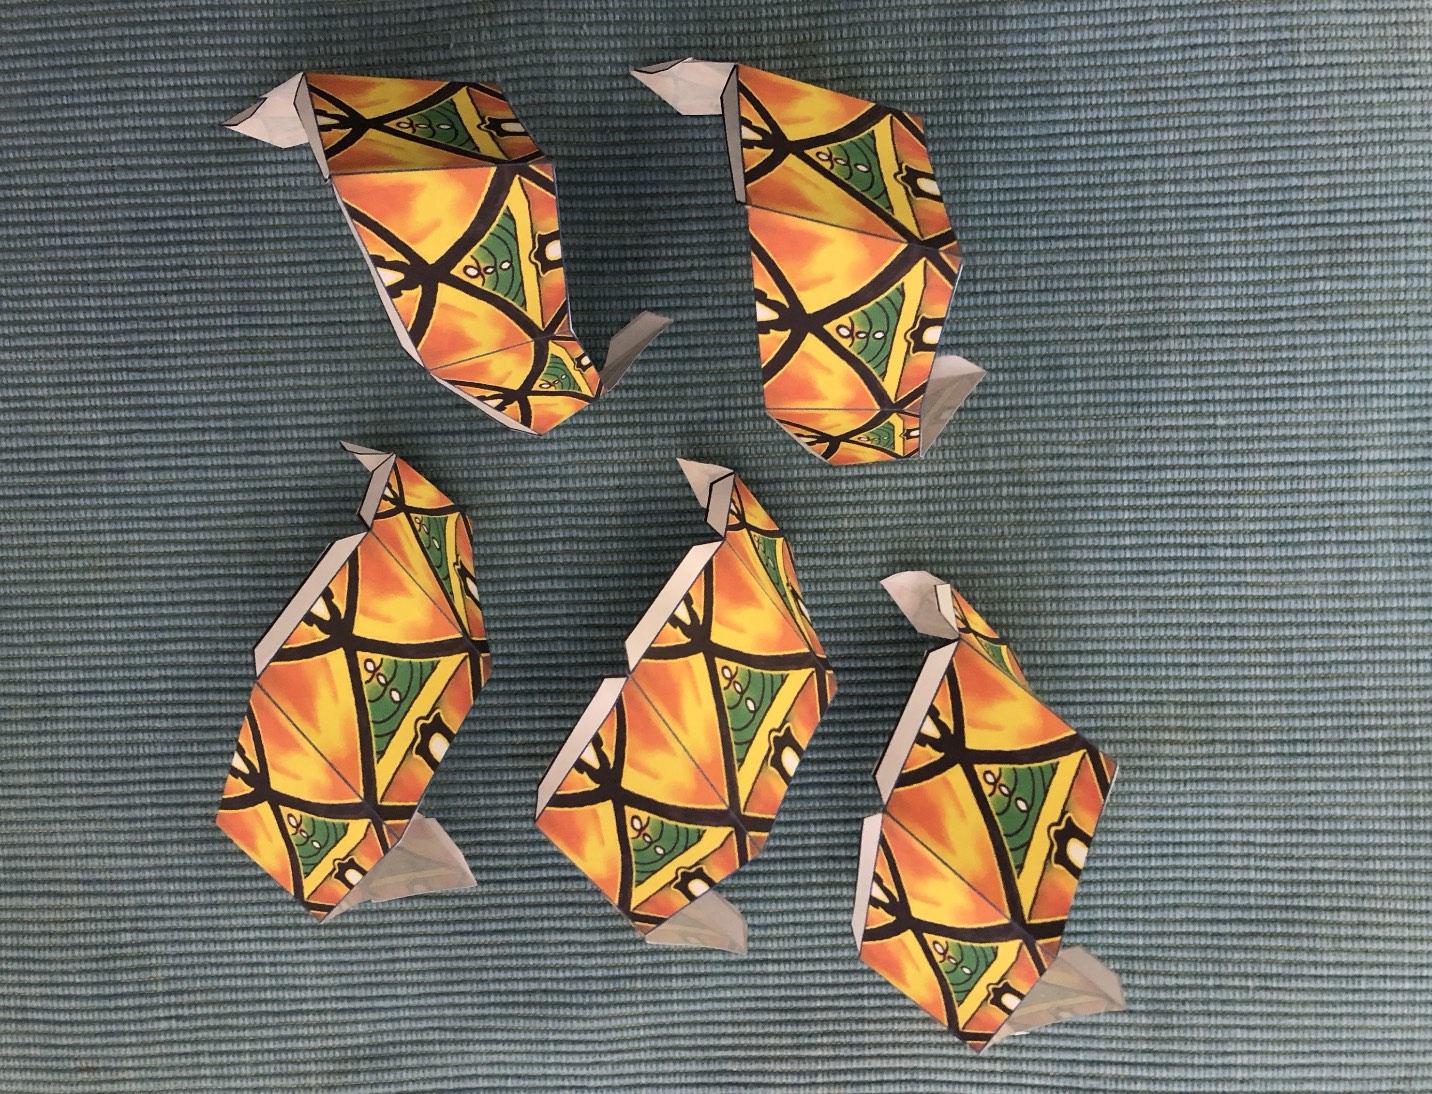
Step 2: Glue the first two strips together from the bottom, beginning with the flaps.
Don't glue the top two flaps yet.
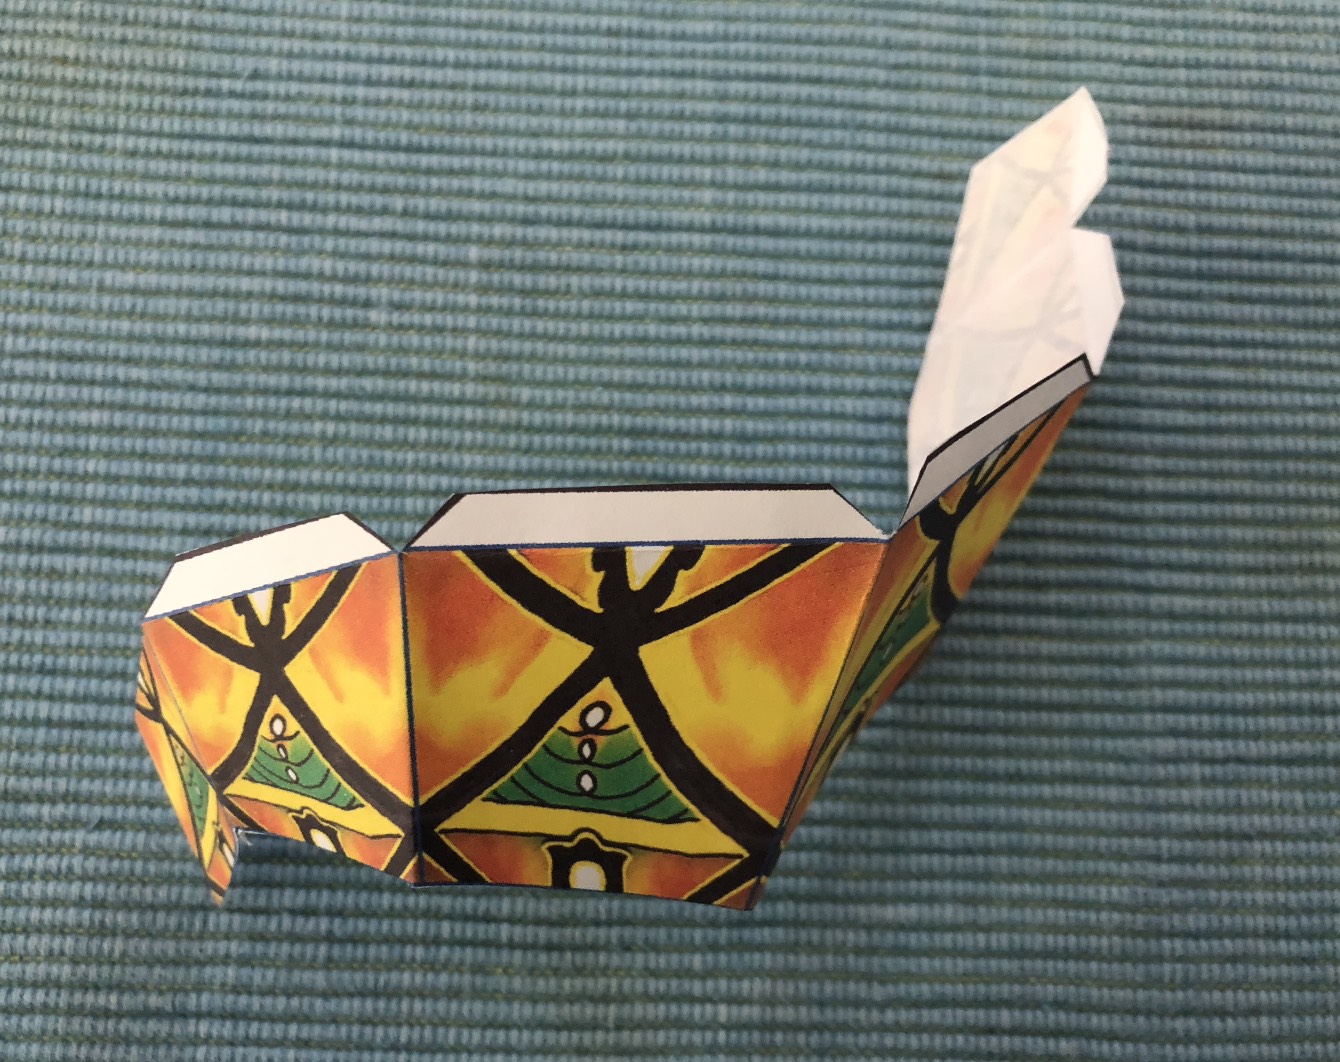
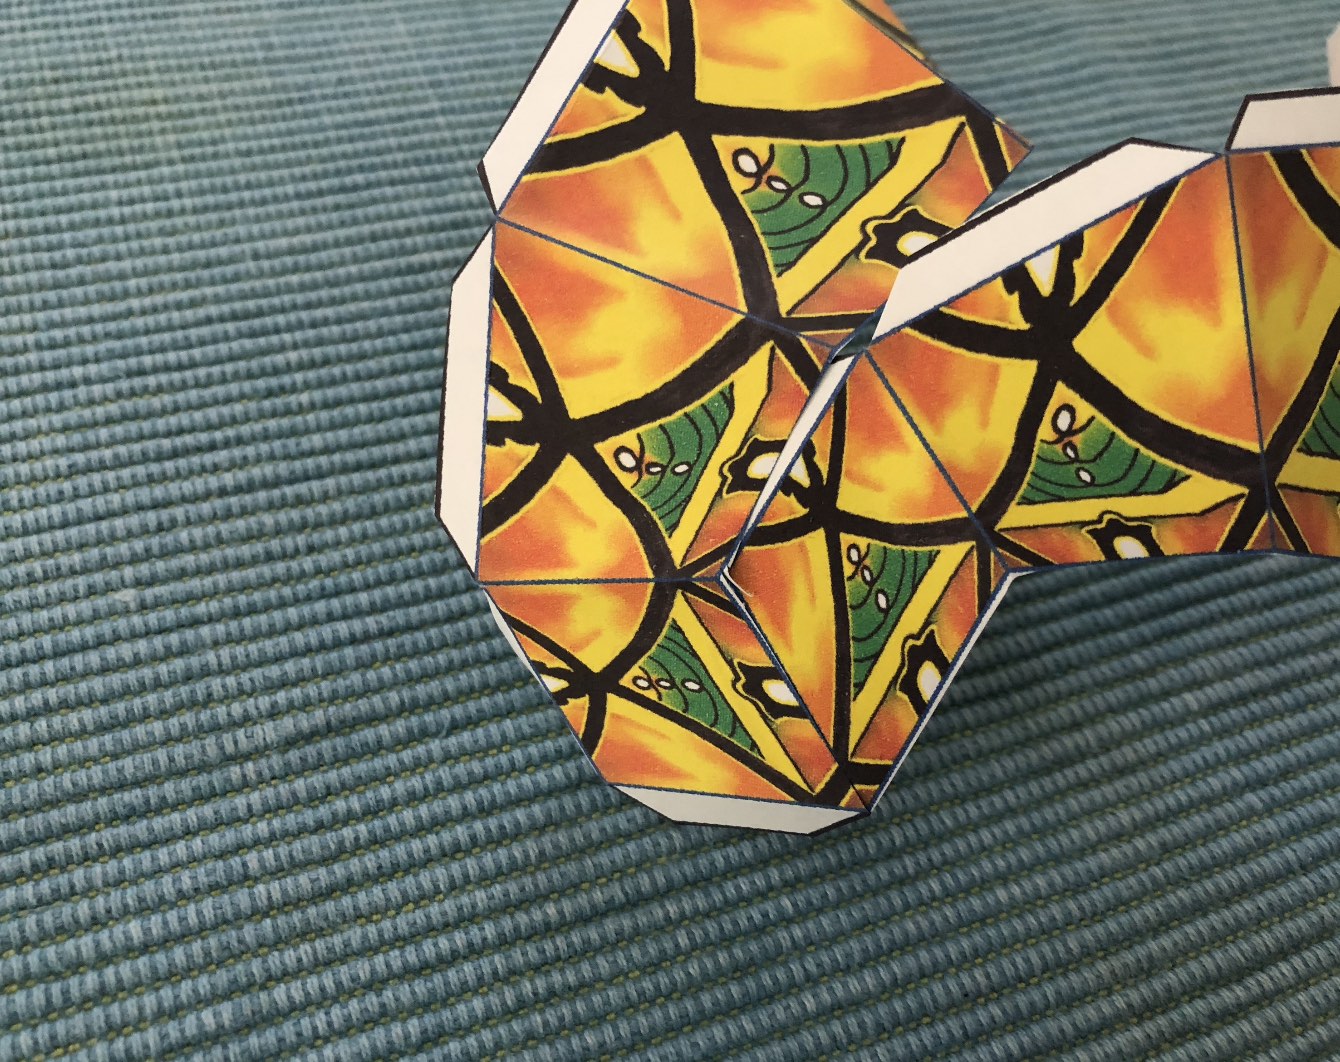
Step 3: Then stick the third, fourth and fifth strips to the first two, remembering not to glue the top two flaps. Then (and this is the tricky bit) stick the last strip to the first one.
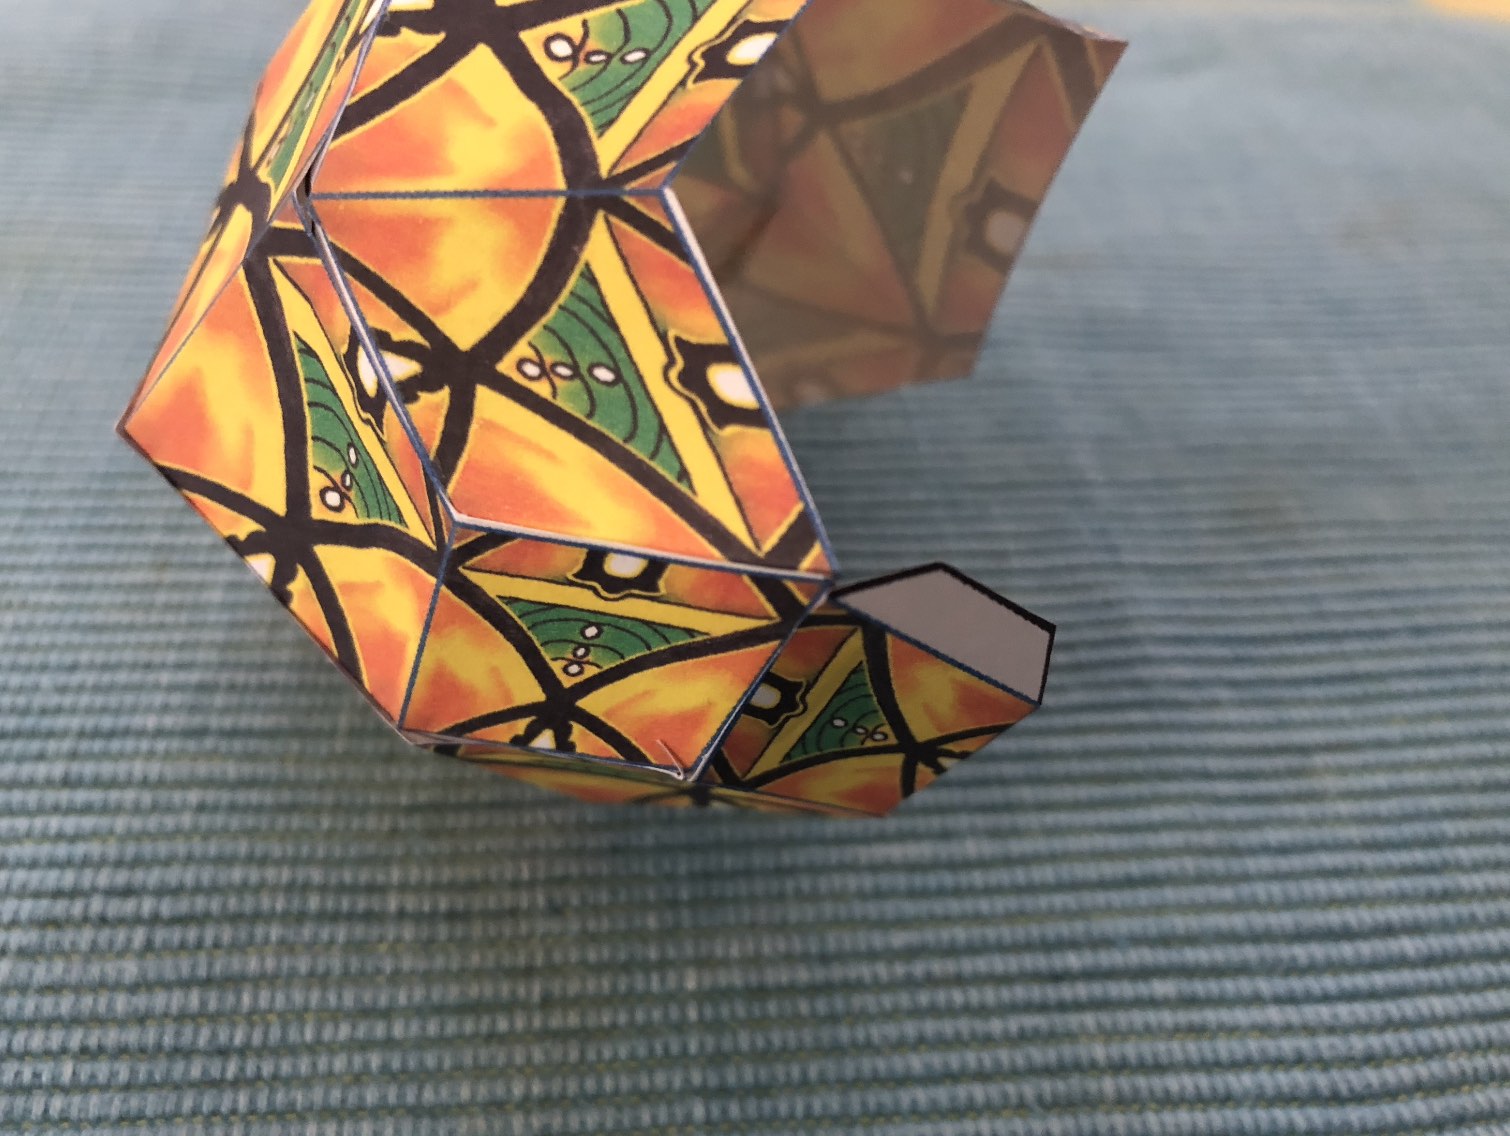
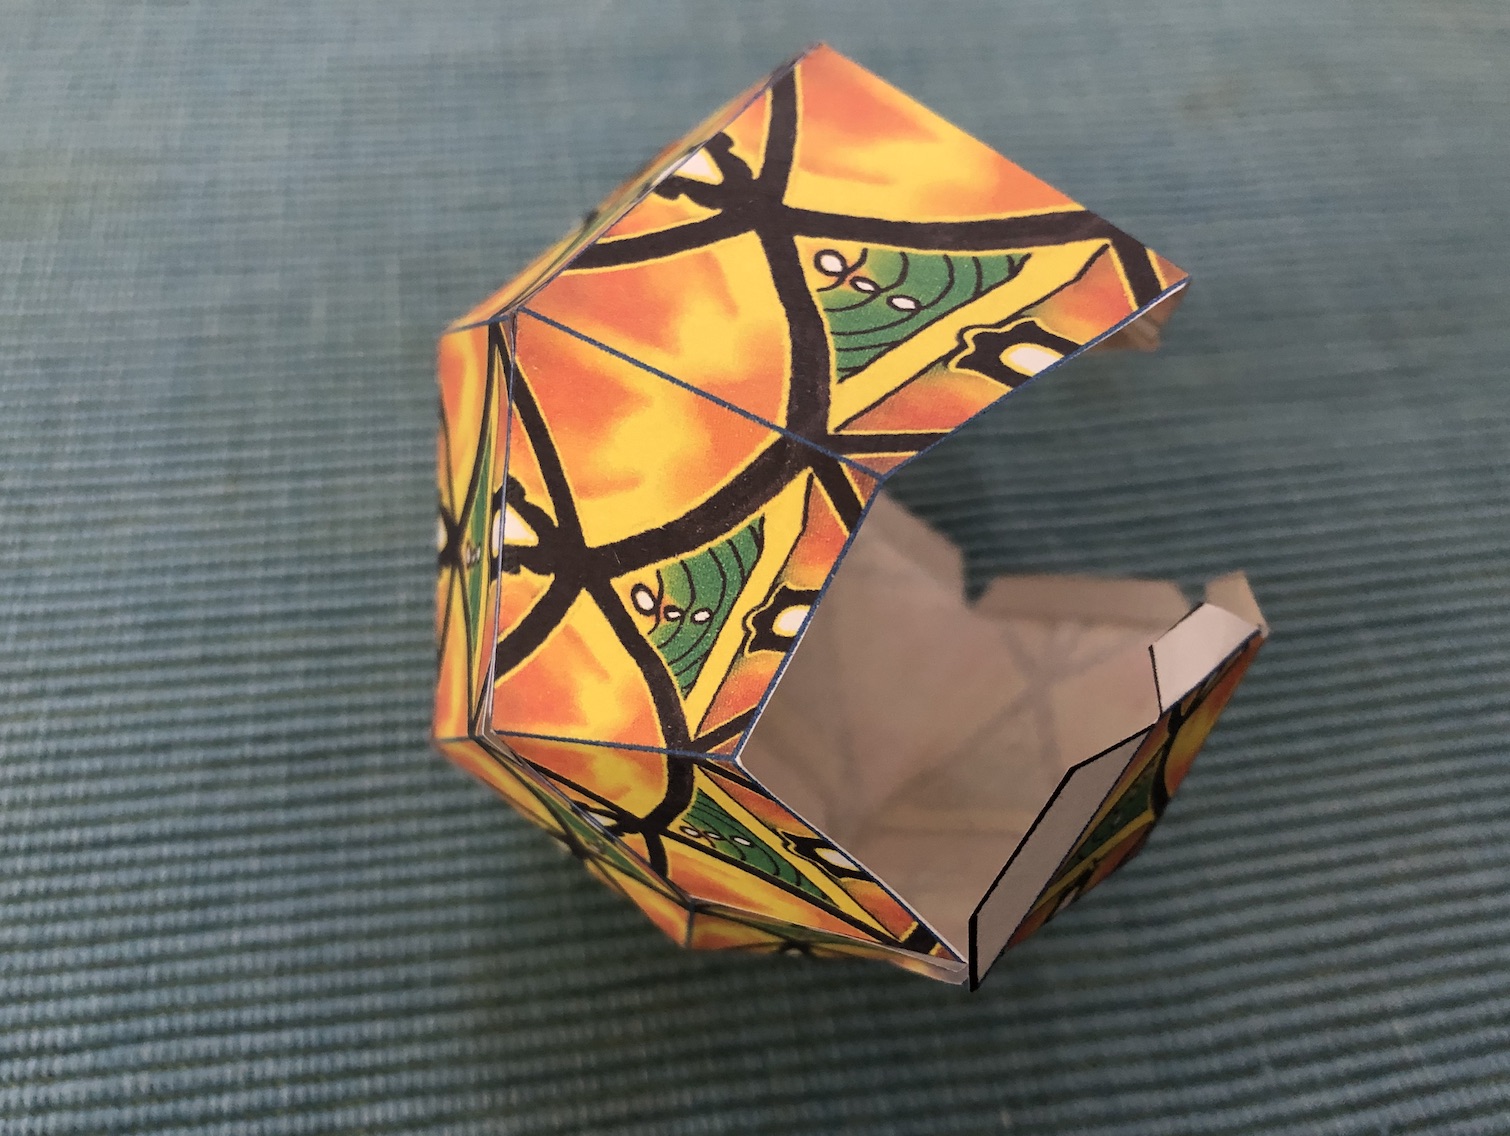
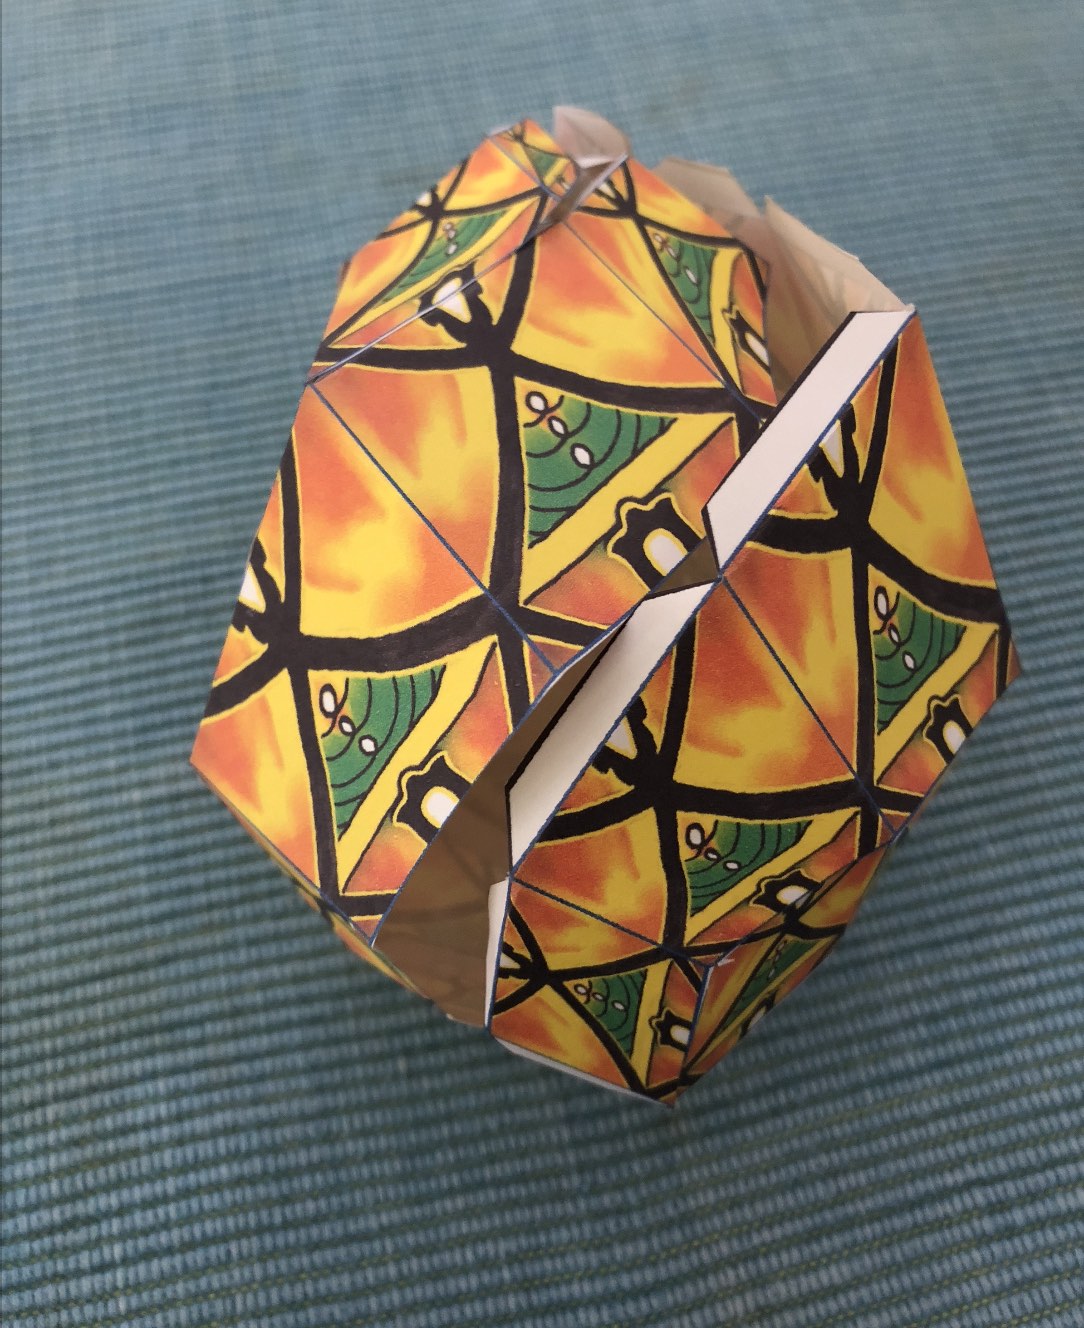
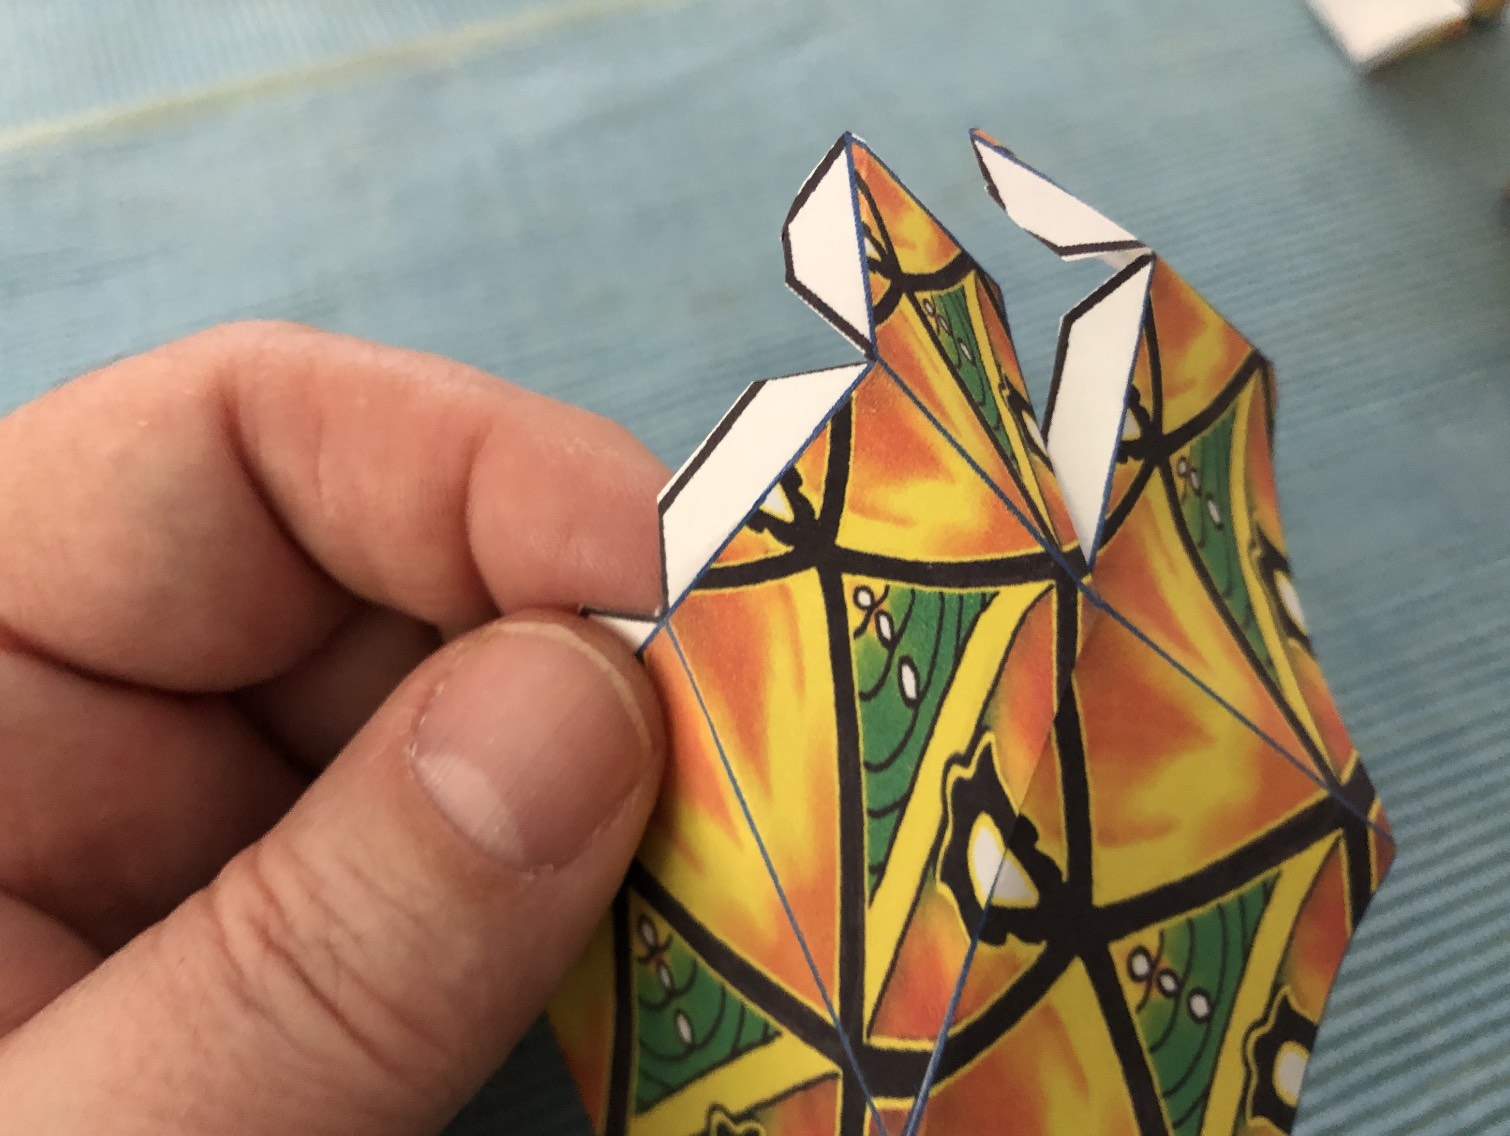
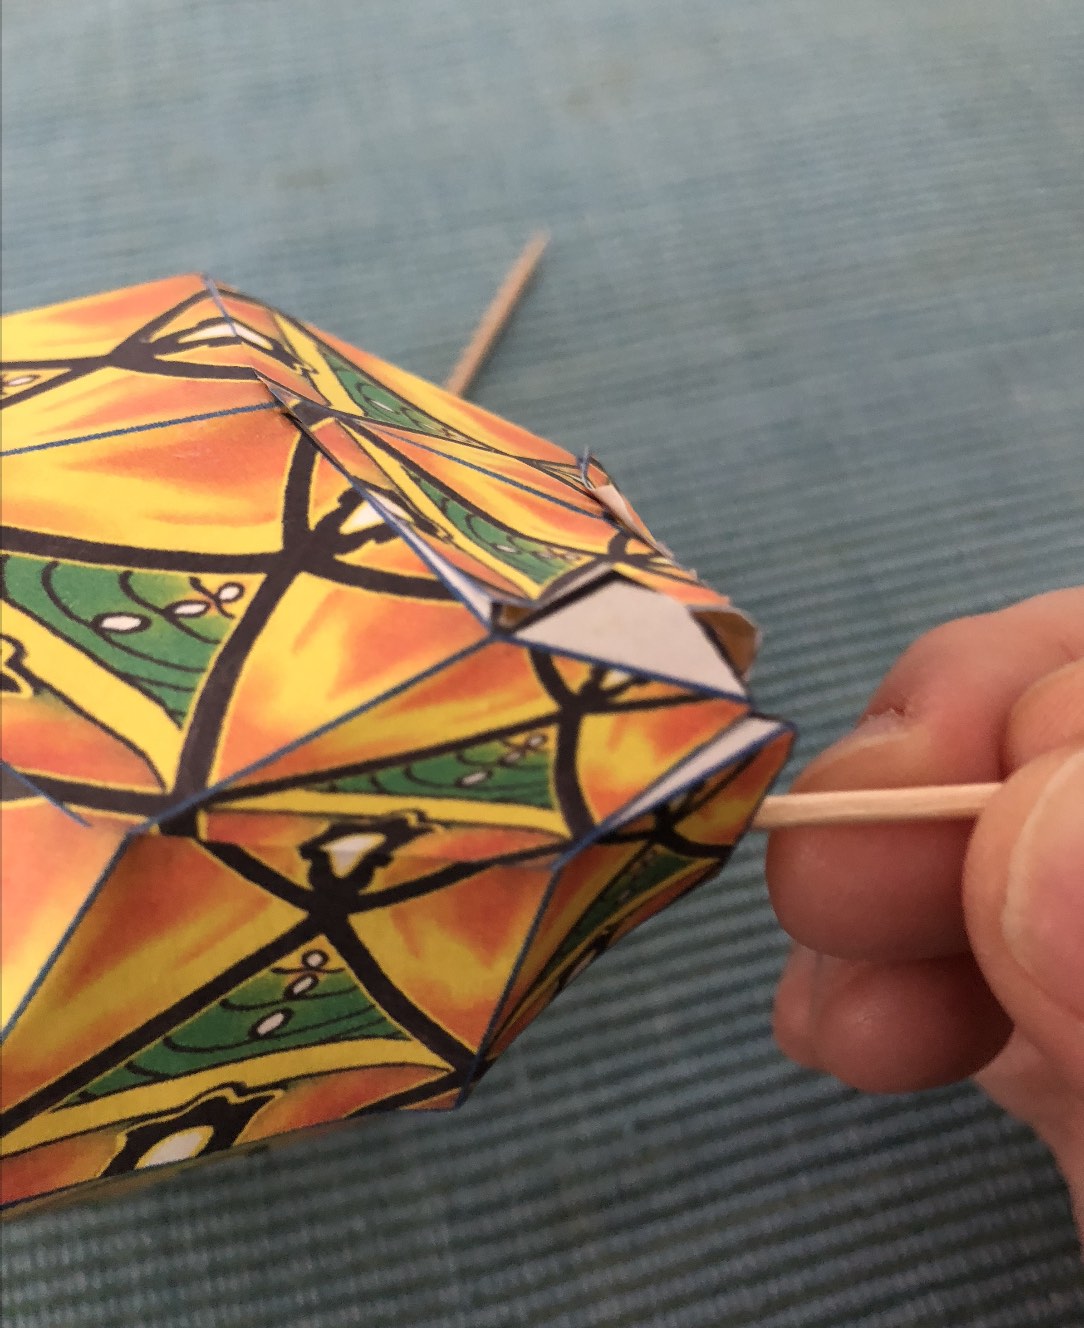
Step 4: Now the two top flaps need to be glued together all the way round. It's quite tight and this is where the toothpick comes in handy. Apply glue to the flaps and then stick the toothpick through the opening and use it to push the flaps inside. Press down gently with your finger on the outside.

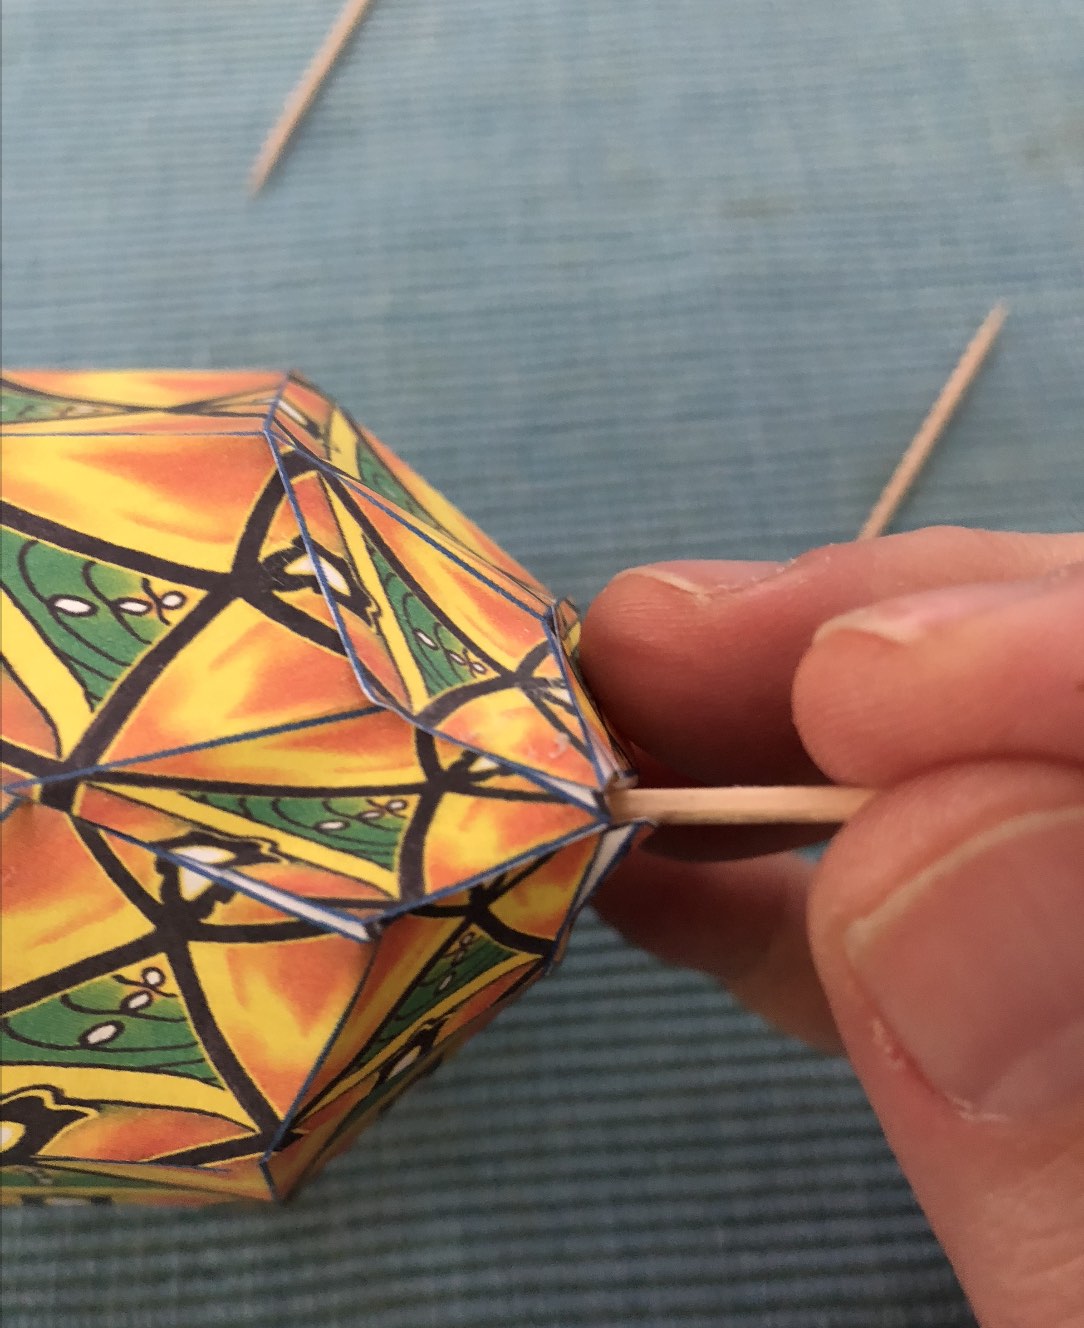
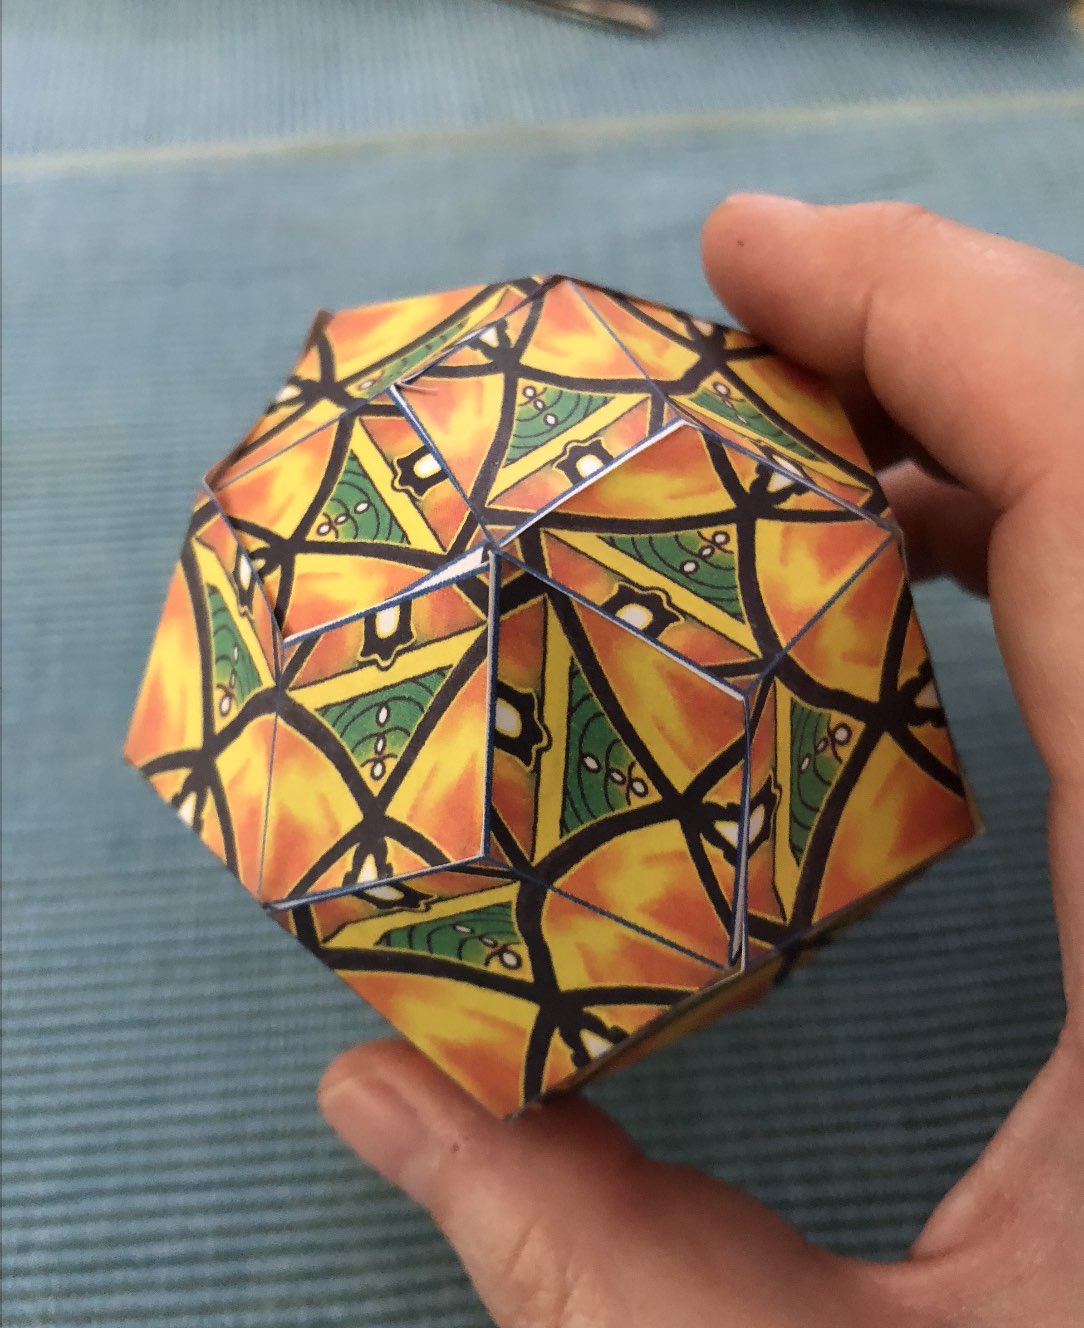
Step 5: Finished!!